But that means Tristan and I can finish the pantry beadboard next weekend.
So here's what I used:
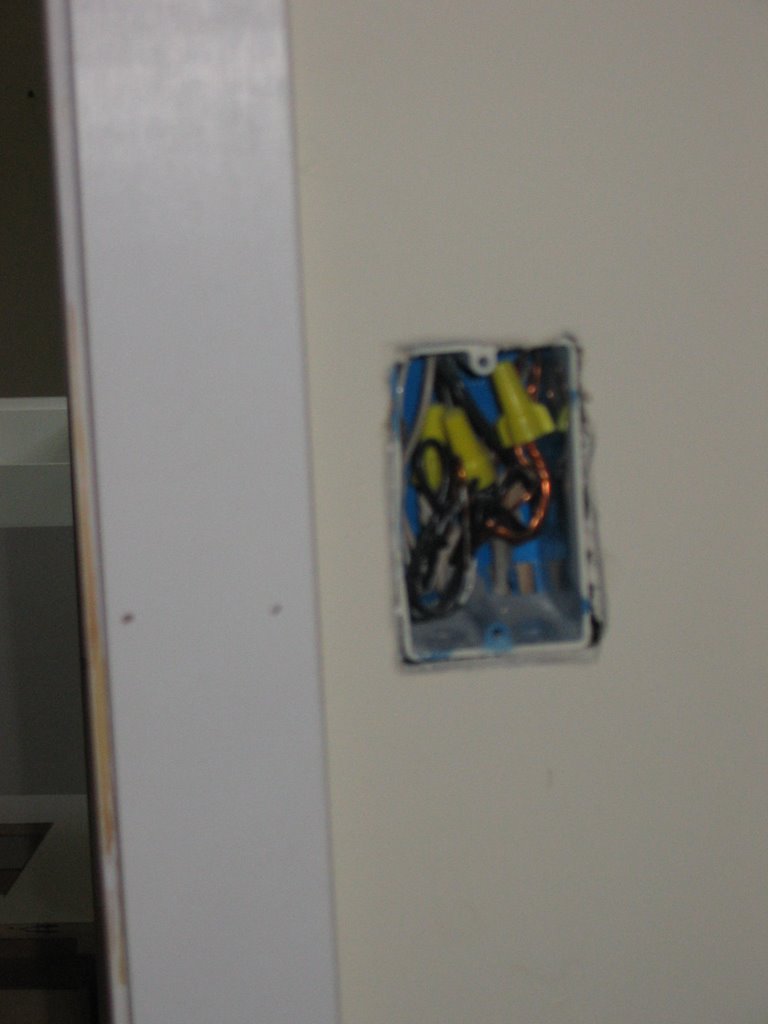
- For the side casing, I bought 1x3 primed MDF from Lowes. I had to get narrower casing because there's a light switch in the way. I do not recommend MDF. Even though it cuts like butter and it actually flexes a bit to accomodate minor bumps, the stuff chips way too easily. We're using fingerjointed pine for the rest of the house.
 - For the head casing, we had some leftover 5/4 x 6 pine from when Bill did a sample casing on the kitchen window.
Installing the actual casing is pretty straightforward. Just cut the side casings to length, line up with the reveal line and nail. Then lay the head casing on top and mark right in place (we had it extend 1/2" beyond the side casing on each side), cut and nail.
The hard part is the prep work. I spent most of my time scraping down the drywall and jamb so they would be flush with each other. Otherwise, the casing would not lie flat and you would have gaps on the sides. Other things working in our advantage:
- We're painting all of our trim rather than staining. Paint and caulk hides a multitude of sins!
- We're doing a Craftsman style trim with butt joints, so no miter cuts are needed.
 Plus we've got this awesome Paslode cordless nail gun that nails and sets the nail beneath the surface automatically. Supposedly, you can fire 2-3 nails per second, although I haven't trained up to those speeds yet!
No comments:
Post a Comment