
Showing posts with label bathrooms. Show all posts
Showing posts with label bathrooms. Show all posts
Thursday, January 21, 2010
Room by Room: Kids' Bathroom
The original bathroom, with a tub, toilet and small sink, was approx. 5' x 6 1/2' in one unpartitioned space. It was extremely cramped for 3 kids. For the remodel, we lengthened the room and separated the tub and toilet from the sink with a pocket door so more than one kid could use the bathroom at a time (you can see the edge of the door opening on the left hand side).


Room by Room: Guest Bathroom
 Another small room, another opportunity to use red! This bathroom is only 9' x 4' and with the tile wainscot, the red doesn't overwhelm.
Sunday, April 15, 2007
More painted rooms
My favorite part! So much less stressful than the flooring.
This is my FAVORITE room and FAVORITE color in the whole house. I just love the Kittery Point Green in the laundry/mudroom. And I love all of the beadboard and trim we put in here.


Here's the Burnt Peanut Red Guest BA:
 The Palladian Blue beadboard ceiling above the window seat:

And finally, some hardware on the cabinetry! 1 1/4" glass knobs from D. Lawless:

This is my FAVORITE room and FAVORITE color in the whole house. I just love the Kittery Point Green in the laundry/mudroom. And I love all of the beadboard and trim we put in here.


Here's the Burnt Peanut Red Guest BA:
 The Palladian Blue beadboard ceiling above the window seat:
And finally, some hardware on the cabinetry! 1 1/4" glass knobs from D. Lawless:

Thursday, March 29, 2007
I guess this is what you'd call progress......

That means we finally have one working toilet in the house, yahoo!
We have 3 bathrooms; 3 chances to get a working toilet; yet only a 33% success rate. I guess that speaks volumes about our plumber. OK, I'm going to stop bashing the plumber.
Progress to date:
Stucco is done:


Electrician installed all the switches and outlets (but not the plates).
Bathrooms have some fittings installed:


Tuesday, March 20, 2007
Just photos
I'm just going to post a quick update with "pretty" pictures. Someone broke into our garage two weekends ago and since then I've been all business just trying to get the house finished so we can move back in.
Anyways, hope you enjoy the pics!
Kids' BA w/marble countertop installed:

Farmhouse leg for bake center cabinet:


Anyways, hope you enjoy the pics!
Kids' BA w/marble countertop installed:

Farmhouse leg for bake center cabinet:

Guest BA w/sink partially installed and Burnt Peanut Red paint sample:

Master BA, same style sink as Guest BA, but with a deck mounted faucet:


Thursday, March 08, 2007
Week 35: Mar 5 - Mar 11
 The stucco crew showed up bright and early Tues, and finished the second coat of stucco. I think there were 6 on the job and they were done in 5 hours.


 Some of the kitchen upper cabs got crown moulding. Really polishes up the look! Without crown:
 With crown:

After my "tough" talk last week with the cabinetmaker, they took back the pieces that were too big, reworked them and redelivered them on Tuesday. Unfortunately, 2 out of the three pieces still had problems. The microwave cabinet had streaky, shiny marks on the finish and the bake center piece was too tall!!! Back again they go.
Marble fabricator came on Wednesday and installed bathroom countertops and thresholds:

Electrical trim-out starts this weekend. So in preparation, I went over to Independent Electrical Supply in Sunnyvale and bought all the recessed can trims, dimmers, fluorescent undercab/overcab lights, lamps (aka lightbulbs). That set us back $1700 and I think everything fits into two big shopping bags. And we still have to buy most of our light fixtures, plus vacancy sensors, plus timer switches. Electrical/Lighting ain't cheap. But I do LOVE lighting fixtures! I'll have to do a separate post about all the great fixtures I've found - and their outrageous prices!
Finishing up Week 34: Feb 26 - Mar 4
The good news, this week: Upstairs hardwood flooring is done, stucco work got started, marble fabricator came and made up templates, kitchen island was installed, mudroom tile floor laid and grouted.
The bad news: Had to have the "tough" talk with the cabinetmaker ("Take these cabinets back and make them right!"); had to find a new floor for the downstairs and still a lot of trimming left.
And some fun, "pretty" stuff:

The bad news: Had to have the "tough" talk with the cabinetmaker ("Take these cabinets back and make them right!"); had to find a new floor for the downstairs and still a lot of trimming left.
And some fun, "pretty" stuff:
- Our kitchen bin pulls (in a polished nickel finish) and glass knobs arrived
- Tristan patiently removed 1/4" from a 2x4 header and installed the Guest BA medicine cabinet

Monday, February 26, 2007
Flurry of activity
We had a busy 33rd week.
Cabinet installation started then quickly stalled when Mr. Xu found some of the cabinets were too big for their spaces. The Kids' BA vanity could not be slid in place because one of the side walls angled in. The kitchen corner cabs overlapped and would require one of the cabinets be cut more than an inch. Additionally, you wouldn't be able to pull out the drawers because they would run into the other drawer's handle.
He did still manage to install:

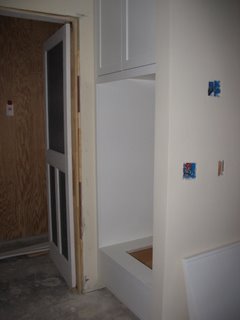
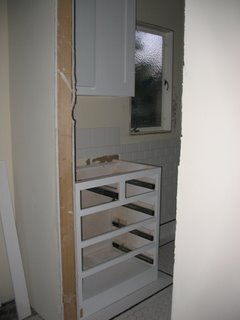 and some upper kitchen cabinets:
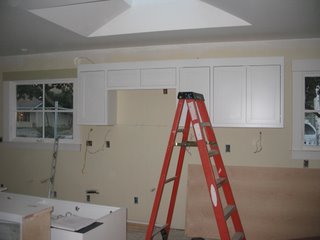 With these upper cabs installed, we could now pinpoint the exact location for the hood duct and cut a hole thru the wall out to the exterior. I ran down to the heating supply place and bought a wall cap (specifically for stucco exteriors). Yes, this is all leading somewhere, namely, now we can stucco the exterior!
Other things this week:
Cabinet installation started then quickly stalled when Mr. Xu found some of the cabinets were too big for their spaces. The Kids' BA vanity could not be slid in place because one of the side walls angled in. The kitchen corner cabs overlapped and would require one of the cabinets be cut more than an inch. Additionally, you wouldn't be able to pull out the drawers because they would run into the other drawer's handle.
He did still manage to install:
- the entertainment center:

- the double oven cab:

- the laundry room shelves:

- the Master BA cabs
 and some upper kitchen cabinets:
 With these upper cabs installed, we could now pinpoint the exact location for the hood duct and cut a hole thru the wall out to the exterior. I ran down to the heating supply place and bought a wall cap (specifically for stucco exteriors). Yes, this is all leading somewhere, namely, now we can stucco the exterior!
Other things this week:
- Picked up Kids' BA sink prior to marble templating
- Checked out engineered wood flooring samples
- Checked out recessed can trims (baffles vs. alzak, white vs. black, cone vs. gimbal)
- Extended Vac-Pan tubing under the oven cabinet
- Met with landscape architect
- Cleaned upstairs and downstairs office in preparation for solid hardwood flooring
- Installed 2 window trims
- Replaced broken stair riser (Man down! Tristan whacked his thumb with the hammer, but trooper that he is, kept on going!)
Sunday, February 25, 2007
Master BA Tile Design
One by one, we're making our way thru the bathrooms.
Today it's the Master BA.
Here's the inspiration photo from the gorgeous Meredith - Irongate Tile website:
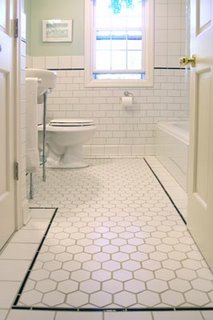
And here's our bathroom to date:
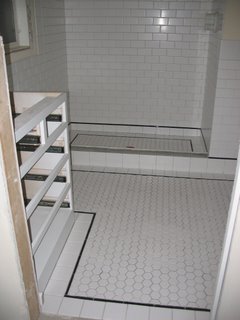 The Iron Gate tile was out of our price range, so I substituted with the closest tiles I could find from Daltile. They were the Rittenhouse 3x6, the Permatones 2x2 hex mosaic, and from the Matte line, 4x4 for the floor border and 6x6 for the wainscot cap. I used two kinds of black liners. The floor uses a flat top liner and the wainscot base has a round top liner for some added dimension.
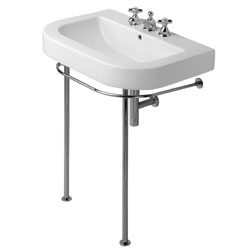
I'm using the same Duravit Happy D sink that we're using in the Guest BA, except we have a little more room in the Master BA, so this version has enough room for a deck mounted faucet (Kingston Brass Metropolitan, similar to one shown on sink).
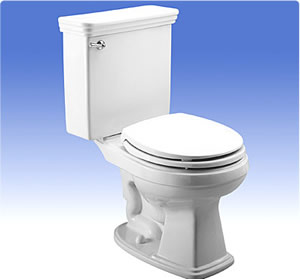
 Toilet is Toto Promenade:
All the bathroom photos that I liked for the Master BA are green, but I tried some green paint boards in our BA and I dunno. The light coming into the BA is very green casted because of all the shrubs right around the BA window. Or maybe I'm just not looking at the right green paint colors!
Today it's the Master BA.
Here's the inspiration photo from the gorgeous Meredith - Irongate Tile website:

And here's our bathroom to date:
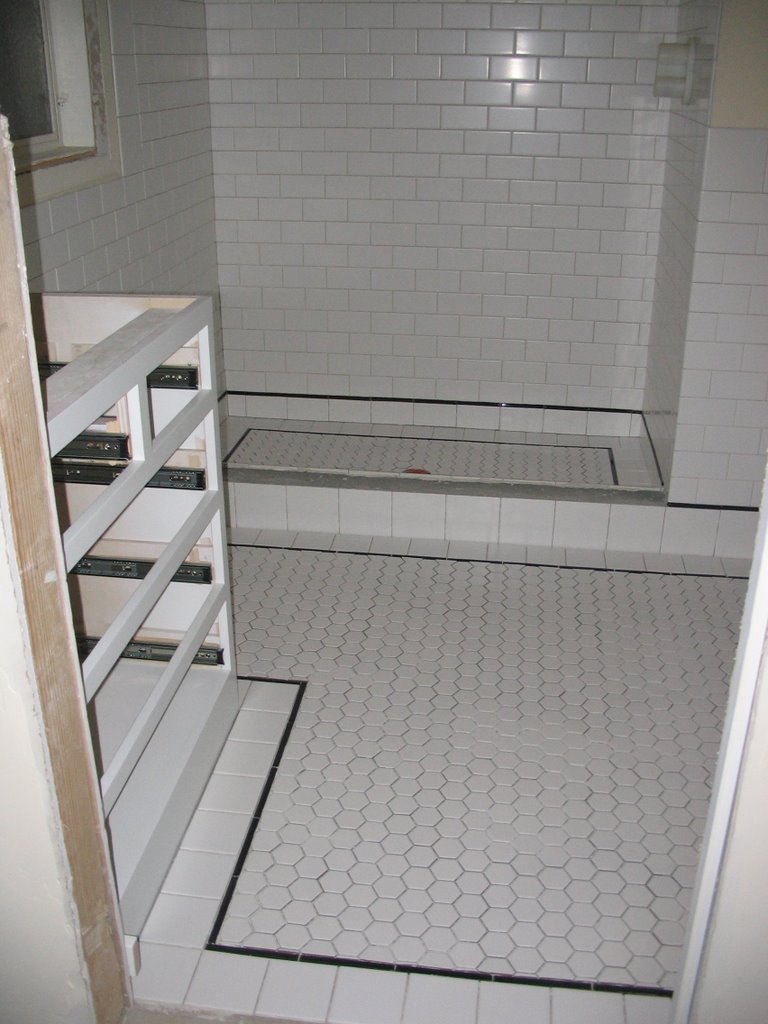 The Iron Gate tile was out of our price range, so I substituted with the closest tiles I could find from Daltile. They were the Rittenhouse 3x6, the Permatones 2x2 hex mosaic, and from the Matte line, 4x4 for the floor border and 6x6 for the wainscot cap. I used two kinds of black liners. The floor uses a flat top liner and the wainscot base has a round top liner for some added dimension.
I'm using the same Duravit Happy D sink that we're using in the Guest BA, except we have a little more room in the Master BA, so this version has enough room for a deck mounted faucet (Kingston Brass Metropolitan, similar to one shown on sink).
 Toilet is Toto Promenade:
All the bathroom photos that I liked for the Master BA are green, but I tried some green paint boards in our BA and I dunno. The light coming into the BA is very green casted because of all the shrubs right around the BA window. Or maybe I'm just not looking at the right green paint colors!
Monday, February 12, 2007
Tiling and Bathrooms - Guest BA
Meanwhile, since the cabinets were late, Mr. Xu and his co-worker kept on going with the tiling. I have to say I'm pretty tickled pink with how everything looks!
First, the Guest BA. Here's the inspiration photo (I think this was the sixth one):
 Plain, big (6"x8") white tiles, laid out in a simple running bond pattern, with dark accents and a somewhat modern/contemporary feel (I'm going to add an Asian twist).
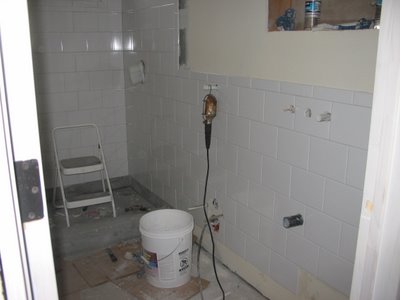
Here's our work in progress:
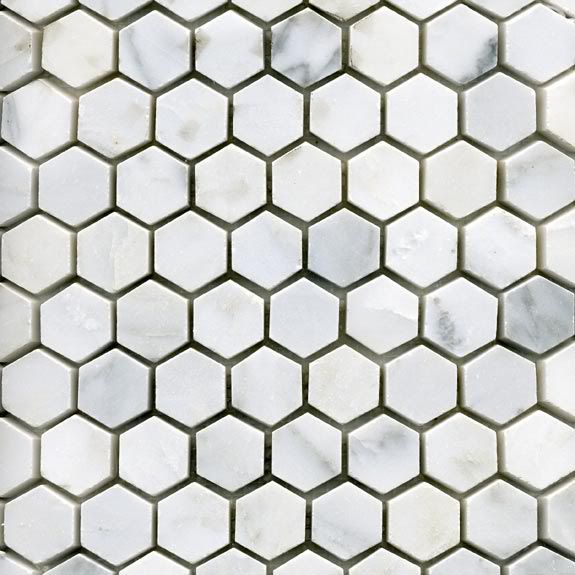
 The floor will be a Carrara marble 1" hex:
 The narrow 4' wide BA drove all the fixture choices - Geberit Darling wall-mounted toilet, Duravit Happy D sink and Jado Century wall-mounted faucet.
 And finally some possible accent pieces:


First, the Guest BA. Here's the inspiration photo (I think this was the sixth one):
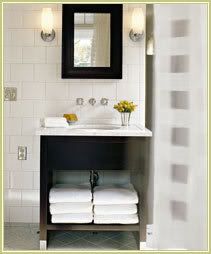 Plain, big (6"x8") white tiles, laid out in a simple running bond pattern, with dark accents and a somewhat modern/contemporary feel (I'm going to add an Asian twist).
Here's our work in progress:
 The floor will be a Carrara marble 1" hex:
 The narrow 4' wide BA drove all the fixture choices - Geberit Darling wall-mounted toilet, Duravit Happy D sink and Jado Century wall-mounted faucet.
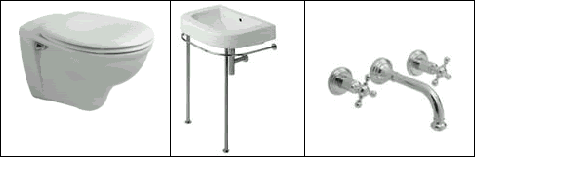 And finally some possible accent pieces:

Sunday, February 04, 2007
Week #30: Jan 29 - Feb 4 Painting, Tiling, Beadboard
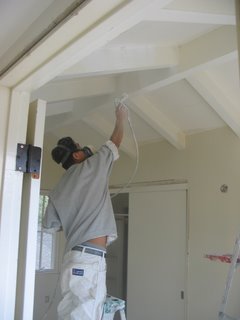
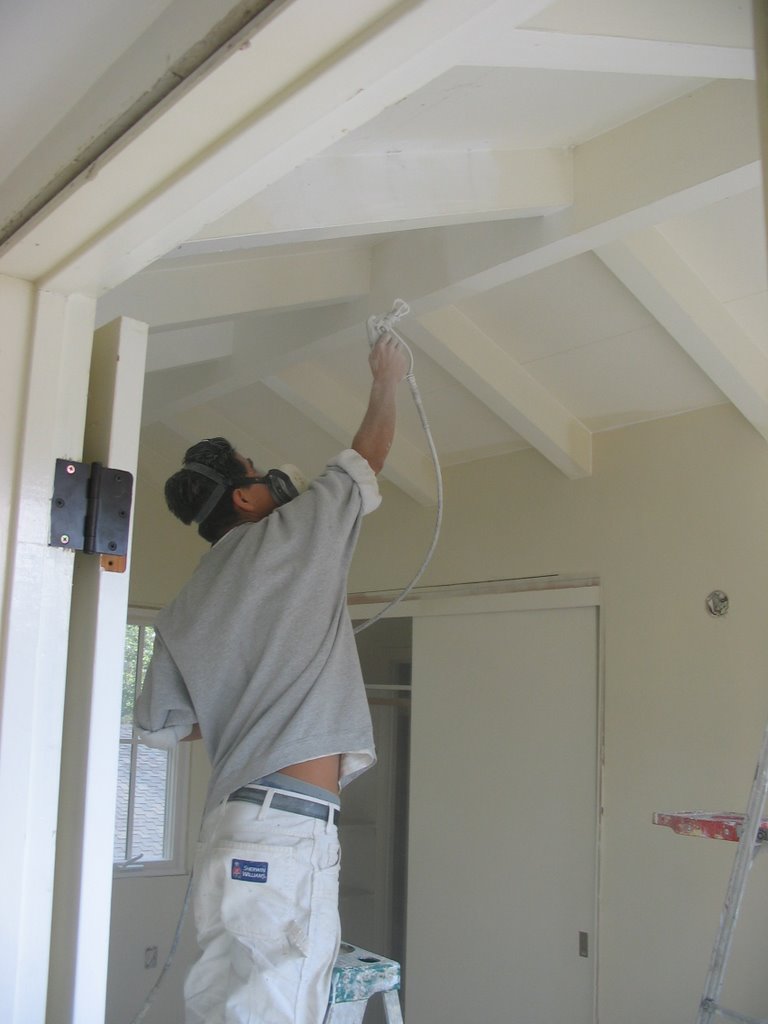
Painters worked all week priming & painting windows, painting all the ceilings before the kitchen cabs arrive.
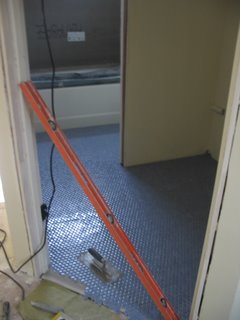
 Mr. Xu started tiling, yippee! I raced up the stairs the next morning to see the first tile go down in the house. This is the Penny Round Series tile from American Universal for the Kids' BA:
 Made a trip up to SF to buy milkpaint, and plunk money down for a marble remnant at Fox Marble. Now I have to pick a fabricator!
The plumber finally sent someone out to fix the old kitchen drain leak. Hope that's the end of that problem.
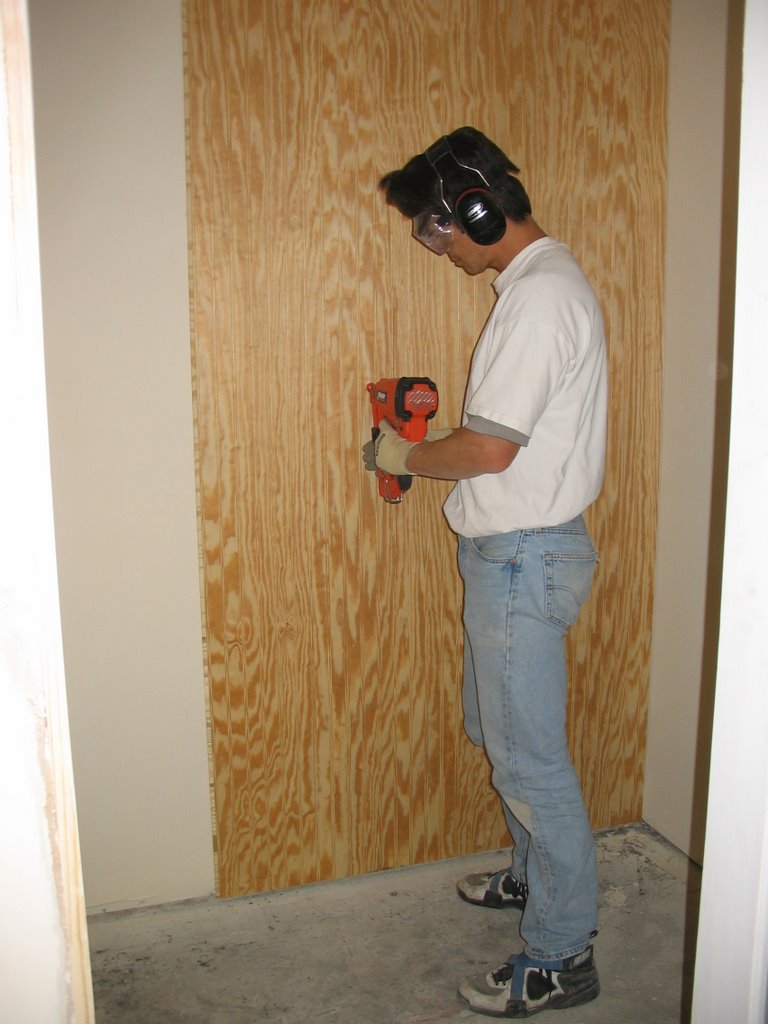
Our weekend DIY project was installing beadboard in the pantry. After two days of work, we got two walls finished. I think Tristan was a little bit disappointed at the pace, but I tried to console him by reminding him that Mr. Xu and his co-worker barely got one wall tiled in a day. And after all, this was the first time we'd tackled anything like this. Finish work just takes time, especially if you want to do a good job. Our biggest problem was trying to fit a 4'x8' beadboard panel thru a 26" door opening. A lesson in spatial geometry!

 Mr. Xu started tiling, yippee! I raced up the stairs the next morning to see the first tile go down in the house. This is the Penny Round Series tile from American Universal for the Kids' BA:
 Made a trip up to SF to buy milkpaint, and plunk money down for a marble remnant at Fox Marble. Now I have to pick a fabricator!
The plumber finally sent someone out to fix the old kitchen drain leak. Hope that's the end of that problem.
Our weekend DIY project was installing beadboard in the pantry. After two days of work, we got two walls finished. I think Tristan was a little bit disappointed at the pace, but I tried to console him by reminding him that Mr. Xu and his co-worker barely got one wall tiled in a day. And after all, this was the first time we'd tackled anything like this. Finish work just takes time, especially if you want to do a good job. Our biggest problem was trying to fit a 4'x8' beadboard panel thru a 26" door opening. A lesson in spatial geometry!
Friday, January 26, 2007
Week #29: Jan 22 -28 Texturing Drywall
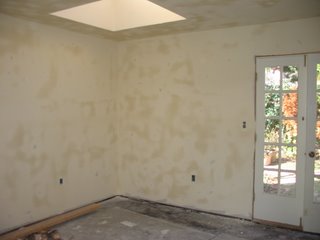
The drywall sub continued texturing & sanding in order to have ceiling and walls ready for priming on Friday. The cold weather slowed down the drying process; you can see the darker areas are not completely dry.
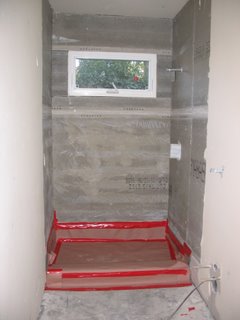
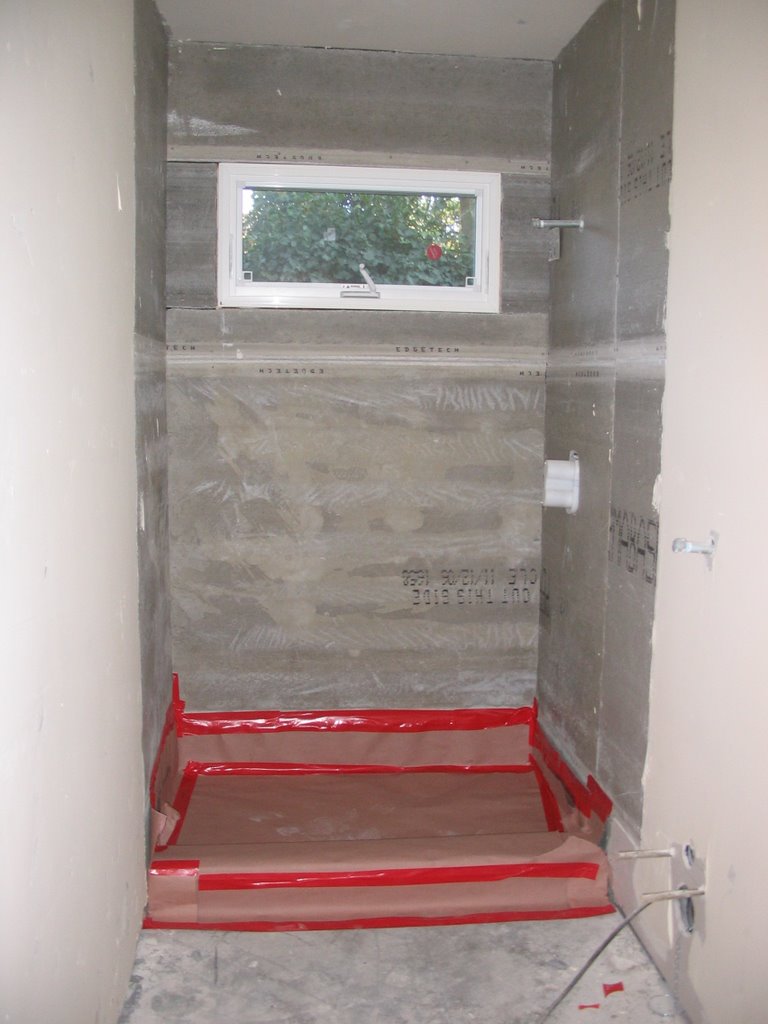
 Bought red rosin paper at HD and covered shower floors to protect from all the drywall sanding. Can use this stuff later over the installed hardwood floors.
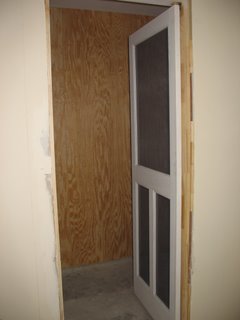
 The pantry screen door's ready, but still having problems finding the right hinges. One pair suggested by a door company is $130!!
Down to the wire, picked a painter on Wed so we can start priming on Friday!
Found someone to hang the interior doors, another handyman who does a lot of work for a friend. Kinda felt like I left some money on the table there. Didn't do as thorough a job vetting out the best contractor for this job. But by Sunday late afternoon, all the interior doors were installed. Plus, I found cafe hinges ($7/pair at OSH) for the screen door instead of the aforementioned $130 double action spring-loaded hinges. Check it out; they work perfectly!
Swing IN:
Swing OUT: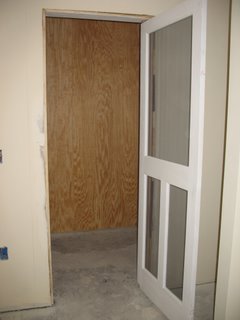 Psyched to the moon too that Mr. Xu is going to tile and install cabinets for us!!! He did remodels for my parents and the house in Newark. Been calling him since November to check on his availability and to see if he'd do our job, but he always seemed so non-committal. I was sooo worried he was giving us the brush off; figured the commute wasn't worth it. But today, I called him again to see if he could start tiling next week and he said yes! And an enthusiatic yes at that. The timing worked out great. His big job up in SF is finishing up this week, so he's all ours after that!!
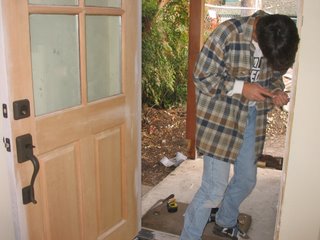
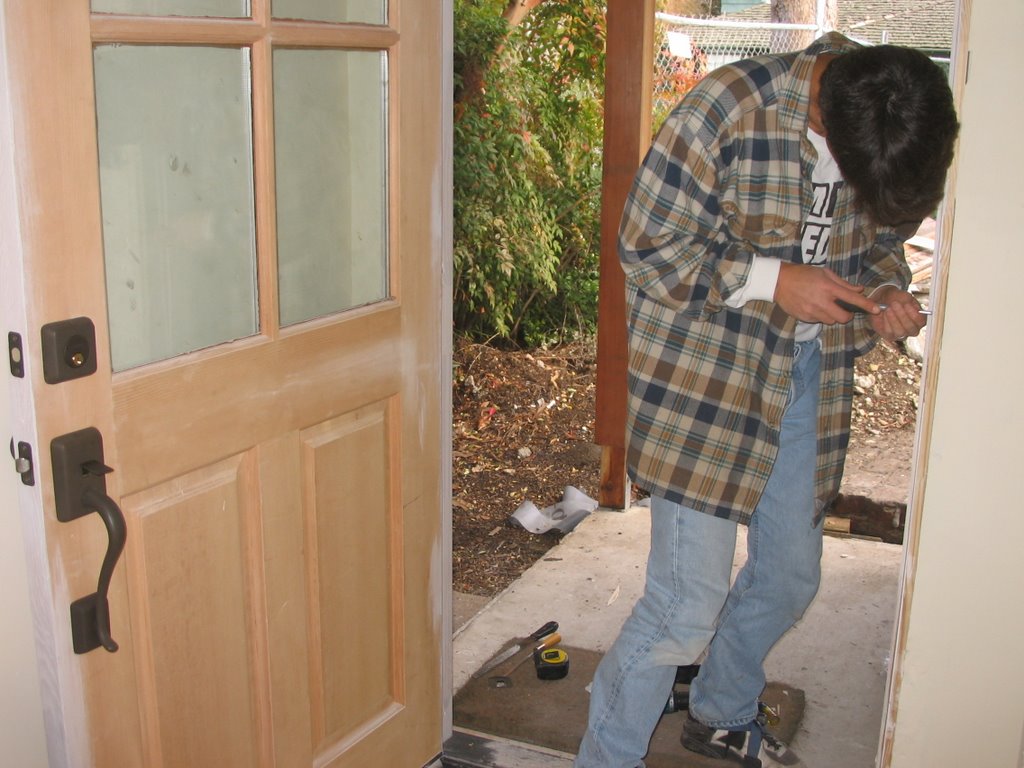
Tristan and I worked on installing the front door hardware. Pretty simple and straightforward, except at the end when we closed the door to test the deadbolt and latch and found the holes in the door jamb didn't line up. Arghhh, Tristan had to chisel out the hole a bit.
 Bought red rosin paper at HD and covered shower floors to protect from all the drywall sanding. Can use this stuff later over the installed hardwood floors.
 The pantry screen door's ready, but still having problems finding the right hinges. One pair suggested by a door company is $130!!
Down to the wire, picked a painter on Wed so we can start priming on Friday!
Found someone to hang the interior doors, another handyman who does a lot of work for a friend. Kinda felt like I left some money on the table there. Didn't do as thorough a job vetting out the best contractor for this job. But by Sunday late afternoon, all the interior doors were installed. Plus, I found cafe hinges ($7/pair at OSH) for the screen door instead of the aforementioned $130 double action spring-loaded hinges. Check it out; they work perfectly!
Swing IN:
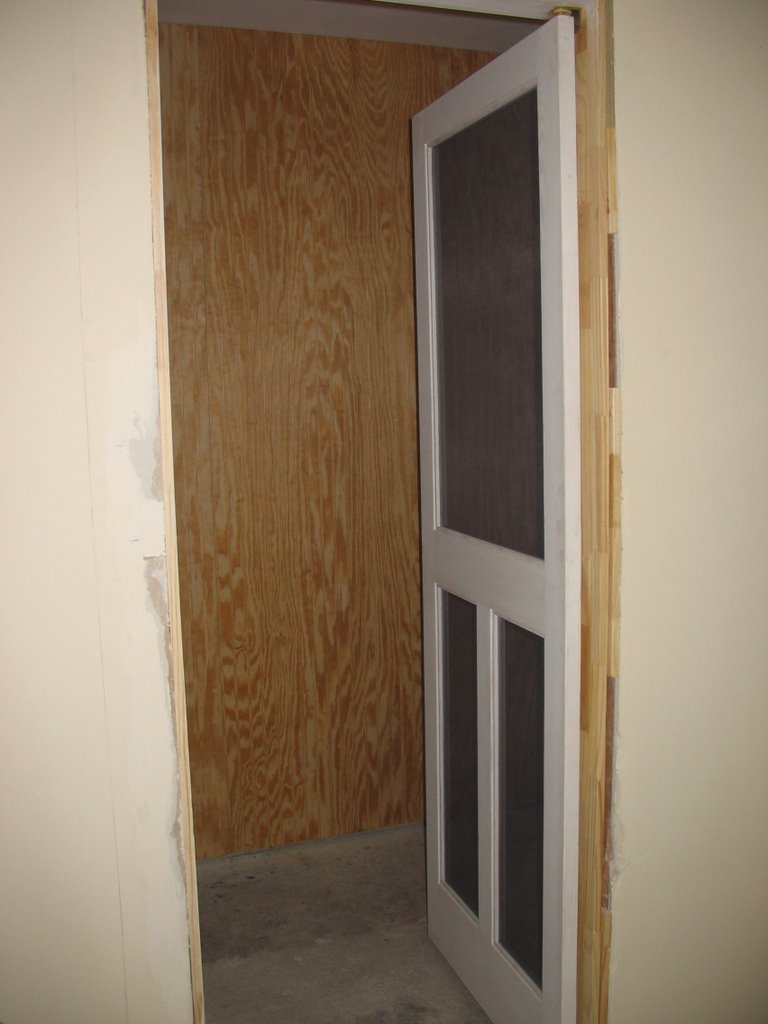
Swing OUT:
 Psyched to the moon too that Mr. Xu is going to tile and install cabinets for us!!! He did remodels for my parents and the house in Newark. Been calling him since November to check on his availability and to see if he'd do our job, but he always seemed so non-committal. I was sooo worried he was giving us the brush off; figured the commute wasn't worth it. But today, I called him again to see if he could start tiling next week and he said yes! And an enthusiatic yes at that. The timing worked out great. His big job up in SF is finishing up this week, so he's all ours after that!!
Tristan and I worked on installing the front door hardware. Pretty simple and straightforward, except at the end when we closed the door to test the deadbolt and latch and found the holes in the door jamb didn't line up. Arghhh, Tristan had to chisel out the hole a bit.
Subscribe to:
Posts (Atom)